
Why arugula microgreens?
Last time we talked, I gave an overview of why microgreens are an attractive type of crop to test in your farm. With their quick turnaround time, relatively easy care, and high sale price per pound, it’s no surprise that farms across the country have gladly added them to their production schedule.
Today, we’ll look at one of the most popular types of microgreens to grow: arugula. This spicy, bitter green is extremely popular at restaurants and farmers markets in the full and baby-leaf sizes. Farmers often forget that the microgreen size of arugula is also quite popular. Chefs love having a few pounds on hand to garnish with or turn into a fresh micro salad.
So, let’s go through how to grow them! I picked arugula not only because it’s a popular microgreen, but because it’s one of the most simple to grow. It takes about ten days for arugula to go from seed to harvest, and getting started is cheap as seeds are only $15/lb.
What you’ll need
You don’t need much to grow arugula microgreens but you can make it more high-tech if you wish. If you’re growing at production scale, you’ll want to use the recommended items that I’ve linked—otherwise, just dig around your house and you should be able to scrounge up most of these materials.
- Container (I use 10×20 plant growing trays)
- Organic potting soil
- Light (I use a 4′ T5 CFL grow light if growing indoors)
- Seeds (I buy mine from Everwilde Farms)
- A spray bottle
Step 1: Plant seeds on a flat surface.
When planting, there are three things to make sure you do:
- Make sure your soil is free of debris and the surface is completely flat and smooth
- Make sure you have moistened the soil adequately
- Make sure you use the right amount of seed
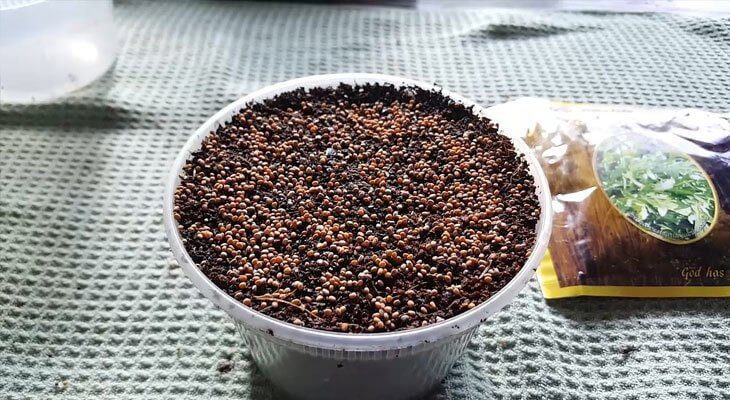
If you’re using a 10×20 plant propagation tray, I typically plant around 1oz (30ml) of arugula seed. This gives me a great distribution of seed across the planting surface. If you’re using a different container, just take a peek at the image below and shoot for that level of density:
You should use at least 1″ of soil or growing media, but 2″ is recommended if you’re going to grow your arugula past 8–9 days. This is when the true leaves start to form and the plants begin to rely on nutrition in your soil instead of the nutrition present in the seed leaves.
After you’ve planted, cover your container with something that will block out all of the light. I typically use another 10×20 tray flipped upside down, but you can get creative—as long as there is no light entering the container, you’re good. You need to do this to provide the optimal germination environment for your arugula seeds.
After covering your container, place it in a low light area that’s relatively cool (around 70°F / 21.1°C).
Step 2: Keep out of light for 72 hours and mist daily.
Every day, uncover your container and mist your seeds once or twice with your spray bottle. Don’t go overboard— that’s how you get mold. Make sure that you aren’t letting any light in, otherwise, your seedlings will start to bend towards the light and lay flat on the surface, causing them to grow improperly. Done right, it takes almost exactly 72 hours for arugula seeds to germinate and get to an acceptable length.
Once they’ve germinated, keep your growing medium moist by continuing to water. A good rule of thumb is that the deeper your growing media, the less frequently you need to water. They won’t be using much of this water until days 8–9.
Growing Tip: Arugula will put out roots quickly and spawn hundreds of little root hairs, which are often confused for mold. While they look similar, you can identify root hairs by their even distribution and clustering around the taproot of your seedling.
Somewhere between days four and five, your arugula microgreens will be ready for light. By this point, they’ve gotten about 1–1.5” long and have “stretched” a bit, which is actually good. This adds some extra length at the bottom for you to safely cut off, avoiding the annoying issue of harvesting too much dirt or seed husks.
Uncover them and move them to a well-lit area. If you decide to leave them outdoors, you’ll need to water more often due to the intense light the sun provides. If you’re growing indoors, you won’t need to increase your watering routine much.
Step 3: Cut 1/2 inch from medium and don’t wash.
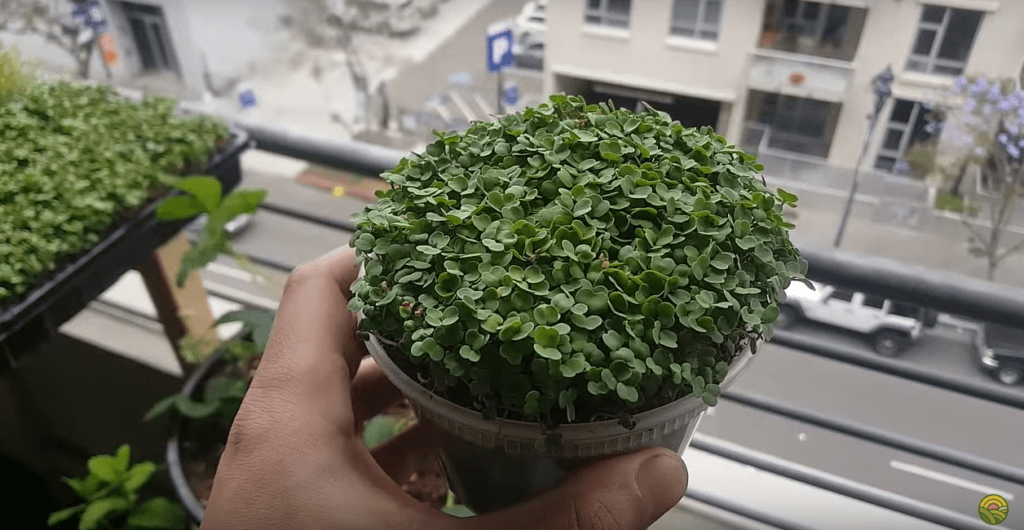
When your greens are around 3″ tall and have bright, open leaves…they’re done! It’s time to harvest.
To avoid the hassle of washing your greens, cut them about 1/4″–1/2″ above your growing medium. You’ll sacrifice some stem to make sure you don’t cut off any excess dirt or seed husks along with it. Trust me, it’s worth the sacrifice—washing microgreens is not only time consuming, but cuts their shelf-life by about 50%.
To store them properly, make sure they’re as dry as possible. If you didn’t wash them, they should be quite dry unless you harvested right after watering them (avoid this). I personally put them in a Ziploc bag with a bit of air inside so they have room and aren’t squished. They’ll last for 7–8 days before they start to get a bit wilted, so enjoy them while you can!
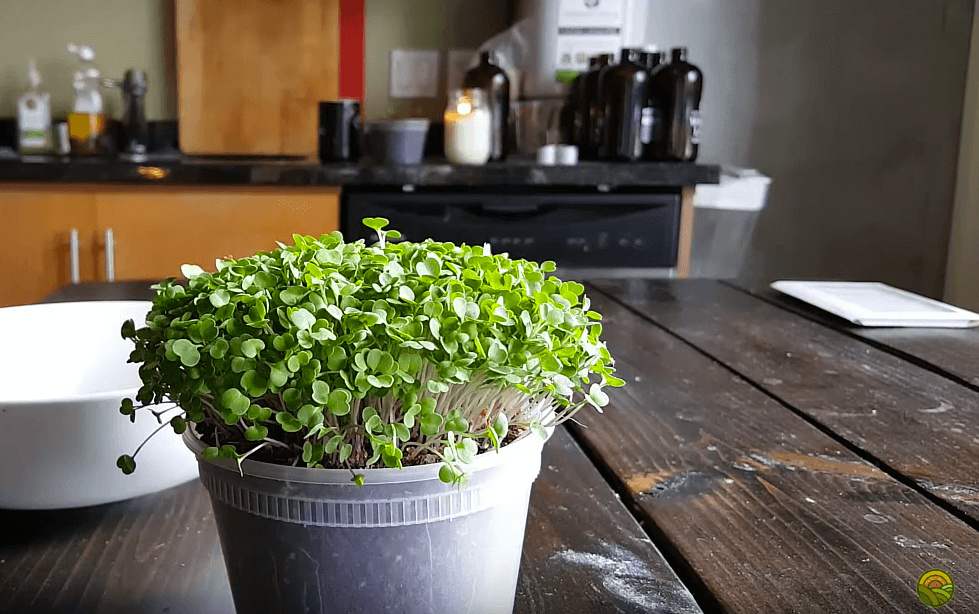
You’re ready to grow!
That’s it! You now have a full tray of fresh arugula microgreens. Expect around 10 oz. per tray if you grow for around 12 days or so, though results will vary based on all of the variables associated with growing these delicious greens.
If you’re interested in growing microgreens, I have a page on my site that covers many of the most popular types, as well as typical problems that you’ll run into.
Happy growing, and as always, feel free to reach out to me in the Upstart University community or on my social media.
Start with a DIY flood tray cart:
Ready to start grower? Save some space with a flood tray rack system. You can order the base kit to build this system and learn how to build it here.

Please keep us on your mailing list