Why grow hydroponic cherry tomatoes in bags?
Sometimes a market and a technique line up so well that it represents unusually small costs and high profits on your farm. This could happen if you find equipment that functions remarkably well in your climate, a market that’s willing to pay very high prices, or you get great prices on materials and sales lined up. The latter is the case for Haydn Christensen, who grows hydroponic cherry tomatoes at his farm, Colorado Fresh Farms.
Haydn runs Bayberry Fresh in Fort Collins, Colorado. He grows a variety of crops for local markets, and this summer he grew about 800 hydroponic cherry tomato plants on a run-to-waste fertigation system. He got his materials at great prices through Hydro-Gardens and Grower’s Supply and knew that he had a local market that was ready for cherry tomatoes. (He’s selling to the school district, local groceries, and farmers’ markets.)
Fertigation is a method of precise irrigation in which a fertilizer solution is used rather than plain water. When used in soil-less systems like hydroponics, it’s called a drain-to-waste system. In a drain-to-waste system, the fertilizer is formulated to almost exactly match what’s required, and watering needs are calculated; this way, very little fertilizer solution is lost, and water is conserved.
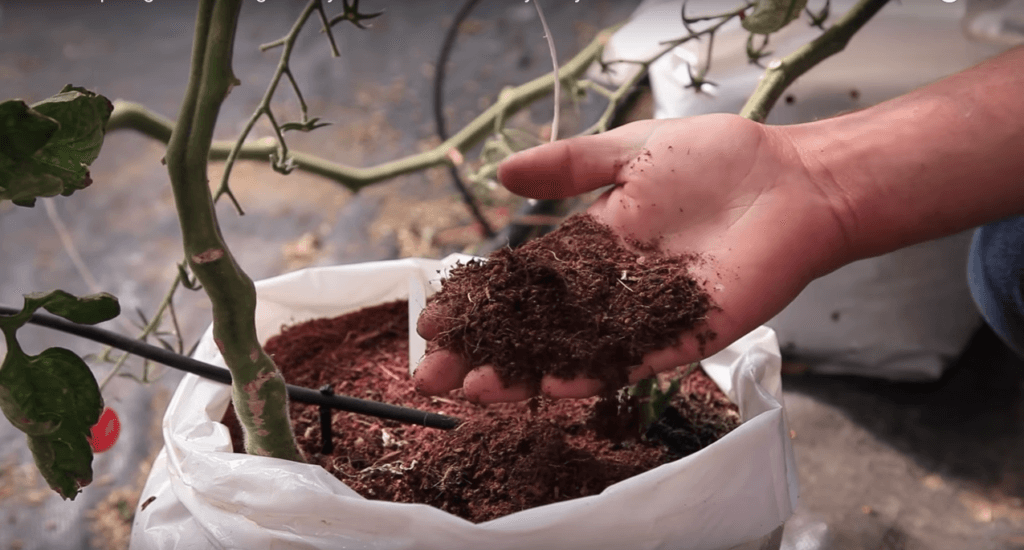
If you’re familiar with Bato bucket systems, then the bag system will seem reminiscent. Bag systems have several things in common with the Bato method:
- Individual growing “units”
- Very space-efficient for vining crops
- Uses a loose media (in this case, coco coir)
What does a tomato bag system look like? Take a tour of Haydn’s system:
Materials
- 20 X 100’ Hoophouses (2)
- Sweet 100 Cherry Tomatoes (~800)
- Tomahooks
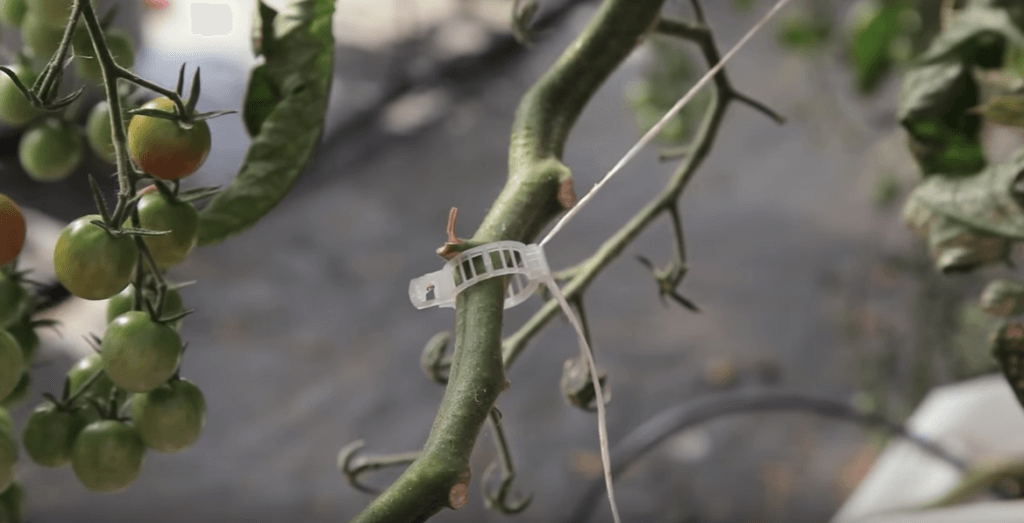
- Tomato clips
- Coco coir
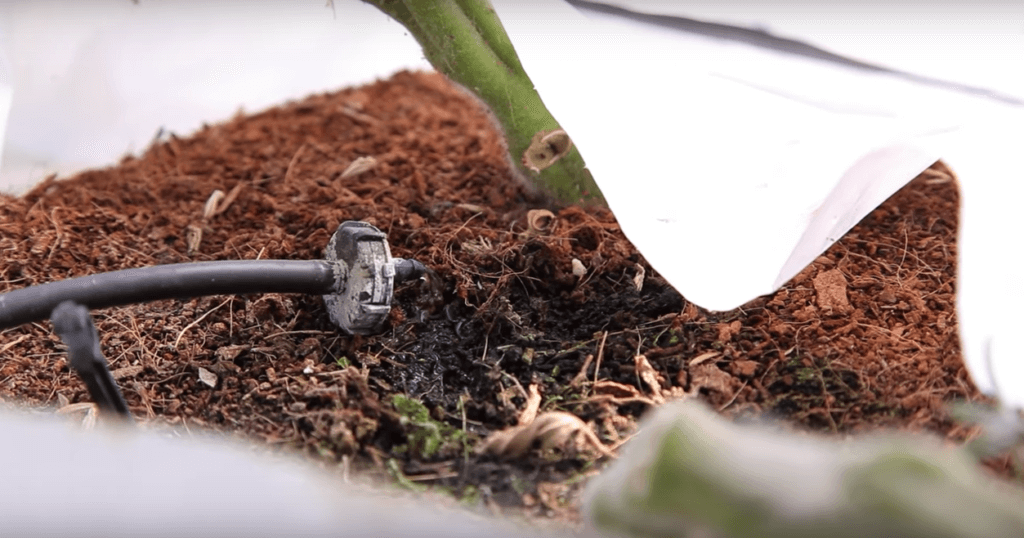
- 2 GPH drip emitters
- Tomato-specific fertilizer
Spacing
Each pot (bag) has two plants. The bags are spaced two feet apart with four-foot aisles between rows.
Irrigation
Haydn uses a run-to-waste fertigation system, watering every two or three hours through 2 GPH drip emitters. It’s important that the pots stay moist (not wet, not dry), so this can differ from cool days and hot days.
Pruning & lowering
These tomato plants were started from seed in January in rock wool cubes and moved to larger pot sizes until the final pot in early April. The final medium is coco coir purchased in blocks.
Each plant is pruned to a single “leader” (the main stem) as it grows. To do this, growers must remove the “suckers” or side shoots from the plant. You can tell that a shoot is a sucker (and not just a leafy branch) because it has small buds at the base.
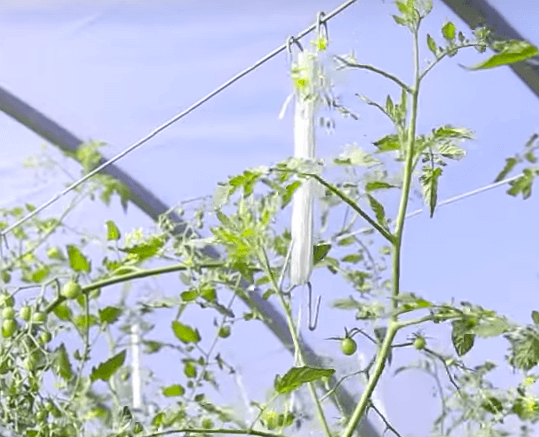 Pruning helps encourage fruit growth over vegetative growth. Haydn uses Tomahooks, to “lean and lower” his plants; as the vines grow upward, they are gently let down and the base of the vine (which is no longer producing) is coiled around the base of the pot.
The Tomahooks are an invaluable tool for anyone growing vining tomatoes, and serve two purposes:
1) They keep the productive part of the plant at handling height. This can be a huge labor saver because workers have to bend down and reach high much less often. It also makes monitoring for pests and diseases much simpler.
2) It saves space. Tomato vines can grow extremely tall; in very high greenhouses, some growers simply trellis the vines up. But this means that the unproductive part of the vine—the lower branches which have already born fruit—take up space. For growers that don’t have the luxury of unlimited space, the lean and lower system is the answer.
How does it work? Tomato hooks are clipped to the leader of the plant and connected with twine that is wrapped around the Tomahook. Every eight inches of growth, the greenhouse operator flips the Tomahook, unwinding another eight inches of twine. This lowers the twine (and with it, the vine) by eight inches.
Harvesting & selling
If the tomatoes get too ripe, they split, so it’s important to harvest frequently. Haydn harvests his tomatoes just before they’re at their ripest, and does this every other day. This is the perfect point to harvest as it keeps the tomatoes from getting too ripe and splitting but preserves the delicious flavor of sun-ripened tomatoes.
Haydn sells tomatoes for both retail and large accounts. For retail sales like farmers markets or groceries, the tomatoes are packaged in small labeled clamshells and sold for $3 apiece. For large-scale orders, the tomatoes are put into 10–20 lb crates.
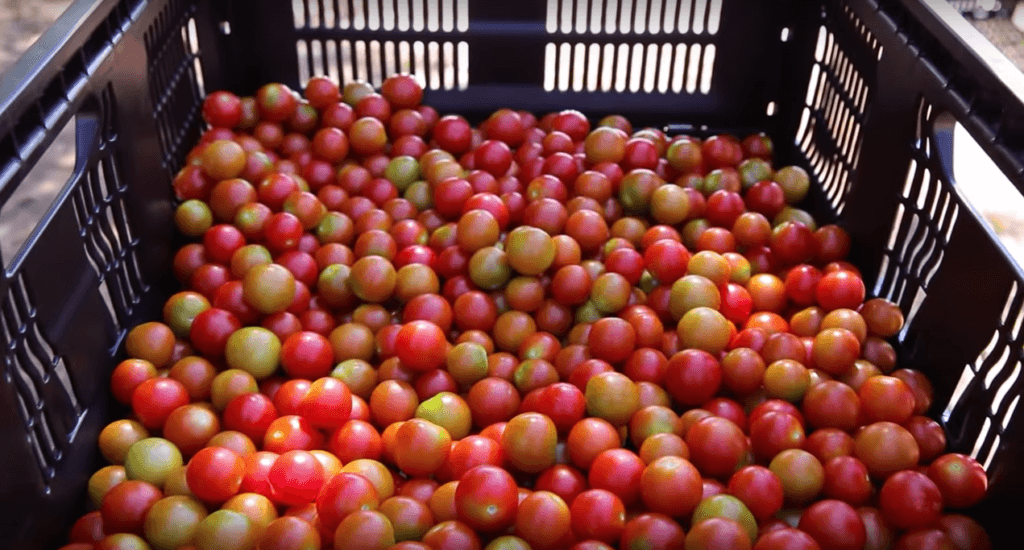
Aside from having the most delicious tomatoes in the area, the best thing that Haydn does for his tomato sales is his Whole Foods demos. Since most people who shop in the grocery store haven’t talked to a farmer, they’re delighted to learn about how their tomatoes are grown and meet the guy who’s growing them!
Creating a crop list?
Choosing crops for your farm requires a balance of market information and crop suitability. Growers have to choose crops that have overlapping needs, like:
- pH range
- EC range
- Temperature range
Get this information for the most highly recommended crops for ZipGrow Towers in the Recommended Crop List.


How tall would these plants otherwise get to if they were not managed in this way? What does the base of the plant look like and how it kept from trailing on the ground etc?
Hello mavbritton,
Haydn said his tomatoes got to about 18 or 20 ft, but he didn’t run them as long as is possible (20–30 ft). It depends on the variety and the amount of time they grow. Sometimes it can be difficult to keep them from trailing on the ground, but you can avoid it by using tomahooks and trellises.
How many killio production per plant ? and how you handle the drain ?
Hey Ali,
Haydn got about 4 kilos of production per plant. He let the bags drain onto the floor and the water would run out of the end of the greenhouse, however, his hoophouse was on a slope.
How much water does he normally supply per plant?
Hi there,
When the plants are mature you need about 1/2 gallon per plant per day, so 1 gallon per bag with 2 plants per bag, and the water spread over lots of mini irrigations.