
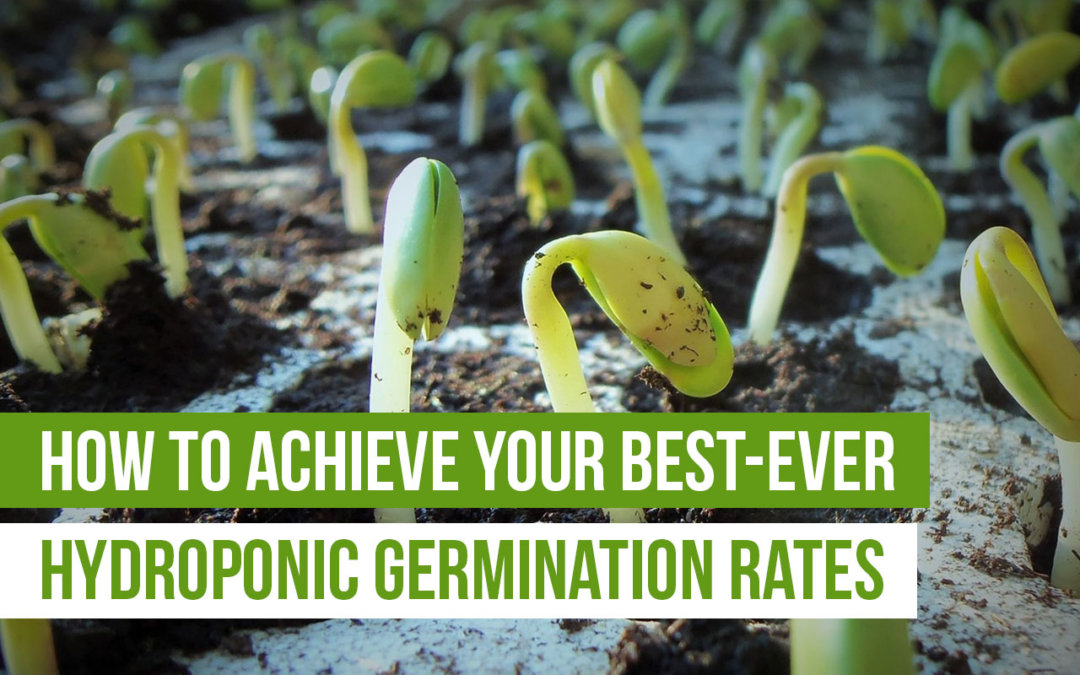
 In the last blog of the Crop Planning series, we talked about calculating seeding rates. Knowing how many seeds to plant is only helpful if you can properly get them through the germination and propagation stages. That requires carefully planning the environmental conditions for each stage of the plant’s life. This blog will help you adjust your environmental settings to optimize the conditions for each crop type, and get the best hydroponic germination and, in turn, yield you’ve ever seen!
Planting seeds is a skill that’s often learned early in life—in the soil, that is. If you’re like me, as a kid, you probably had a science class in which you germinated pea seeds in water and paper towels on the window sill. A few days later, after little pale shoots (the hypocotyl and radicle, as we now know) emerged, we gently placed the little pea plants in cups full of dirt, watered them for a few days, and observed how they grew over the following weeks.
The concept is similar in hydroponics; plant a seed, let it germinate, and then off it grows!
…but it’s not quite that simple, is it? No longer is it as easy as plopping some seeds in water and letting them grow.
Let’s start with what we do know and a quick anatomy lesson.
A seed becomes a plant.
It has 5 main parts:
- The seed coat, or tough outer shell of the seed.
- The plumule, or first shoots.
- The hypocotyl, which becomes the stem.
- The radicle, which becomes the root.
- And, finally, the cotyledon, which serves as a nutrient bank for the plant until the first true leaves arrive.
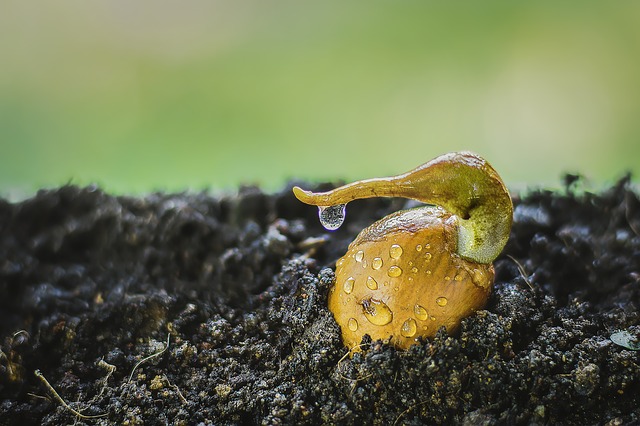
When a seed germinates, it is taken from a dormant state to an active one, when the radicle cracks the outer shell and becomes an early root. This can only happen in warm, moist conditions. When we were kids, a glass of water and the sun shining onto the windowsill was enough to do the trick. But the number of seeds required to fill a full-sized hydroponic farm probably won’t fit on your windowsill.
The seed gets its first nutrients from the cotyledon and after that, traditionally, from the soil. But in hydroponics, there is no soil. So what now? There are a few things you’ll need to understand about a plant’s life stages to have a successful hydroponic farm.
The difference between germination, propagation, and transplant
Germination, as we discussed, is the stage during which, under the right conditions, plants break out of their seed shells and become seedlings. It begins when they’re seeds and ends just before the plants develop their external cotyledons. They should be removed from the germination system as soon as you see plant parts protruding from the seed.
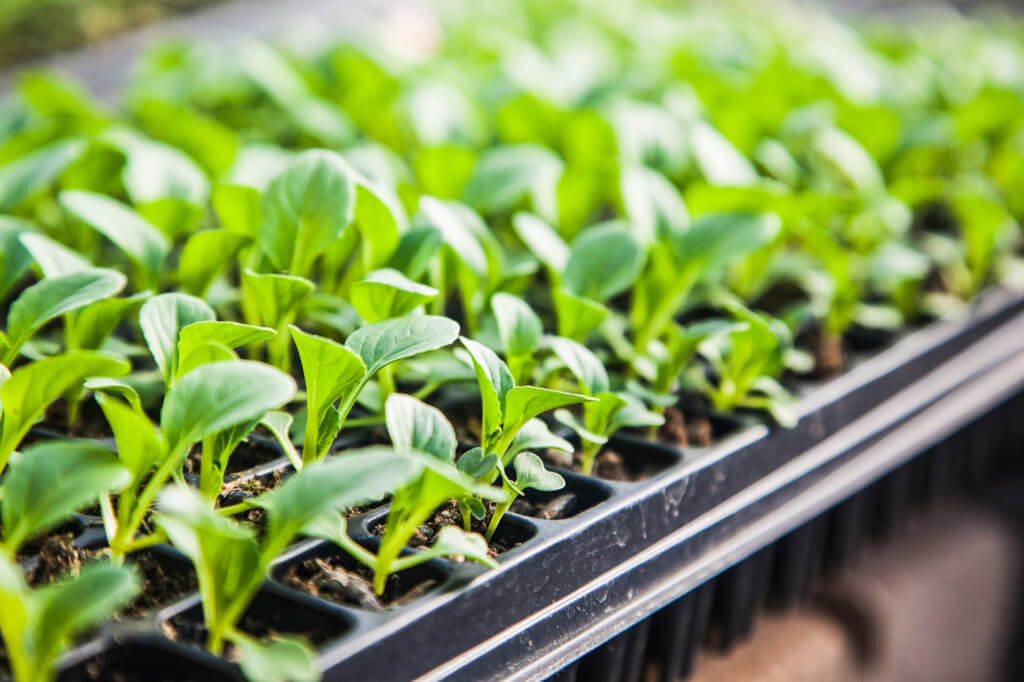
Propagation is the term we use to describe the stage during which the seedlings become stronger and develop roots and true leaves. This stage begins as the plants emerge from the seed and ends when the roots have developed strongly within the plug. Plants should be transplanted when they have developed 2–3 sets of true leaves.
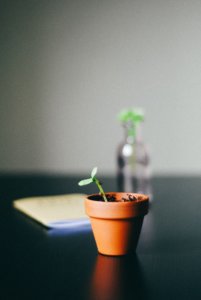
Transplant is the stage that comes after propagation; it’s when you move your young seedlings into your grow-out system.
During each of these stages, plants require unique environmental conditions depending on which type of crop they are. To break it down simply, there are cool and warm weather crops.
Warm weather plants tend to be largely herbs and fruiting crops: basil, oregano, thyme.
Cool weather plants, on the other hand, are mostly made up of greens: lettuce, kale, swiss chard, spinach, cilantro, fennel, mint.
Specialty crops, like fruits and flowers, have ranges of cool and warm preferences within them as well.
Fruiting crops like tomatoes and peppers prefer warmer conditions, whereas broccoli and peas like cooler temperatures.
Flowers like chamomile and calendula are cooler (or moderate) temperature flowers, while something like chia or echinacea prefers warm conditions.
Note: there are warm and cool weather examples for each crop type (herbs, greens, fruit, etc.), so be sure to double check what conditions your crop choices prefer.
The optimal temperatures will trend lower or higher depending on crop type at each stage of the plant’s growth. This means that some crops can quite successfully be grown concurrently, while others cannot. In addition, there are some special considerations for each stage.
Hydroponic germination dos and don’ts
If your germination chamber reaches extreme temperatures on either side of the spectrum, you will not get good germination rates, if any.
Do not let your seeds or media dry out. Your seeds need to be warm and moist in order to germinate, and forgetting to do so, or letting them get too dry between waterings will likely kill them.
Keeping your germination chamber at a higher humidity will help reduce the likelihood of drying out as well as watering frequency. Using a humidity dome can help the chamber produce its own humidity.
Seeds and seedlings can also be too wet. In this case, the seed usually rots before it has a chance to grow. You’ll know your media is too wet if it’s soggy or falling apart. It should be quite moist, but you should see no water pooling in the tray for extended amounts of time.
Tips for successful hydroponic propagation
During the seedling stage, plants are extra sensitive to heat. Even crops that prefer warmer temperatures shouldn’t be overexposed to heat in this stage. In fact, seedlings are pretty sensitive all around, so you shouldn’t be adding too many nutrients, fertilizers, or pesticides.
 You can use a seedling heat mat to help maintain a good temperature in your propagation chamber.
Consistently keeping your media wet enough to be soggy can lead to what is known as damping off. It can be caused by a variety of molds and fungi, and in the propagation stage, causes plants to lose stem structure and lay over flat.
We do suggest adding nutrients, but not until after you see the first set of true leaves. Use the same nutrient mix as you would in grow-out but dilute it much further. You should have an EC of .8–1.2 as an absolute maximum. Remember that all of the nutrients a plant needs in its first stage of life are provided by the cotyledons. Once true leaves show up, the plant will depend more on external sources like soil or synthetic fertilizers.
How to transplant for good yield
While transplanting, you’ll want to watch out for causing too much of what is known as “transplant shock”. When plants are taken from one environment to another, they are going to be a little bit shocked and will require several hours to bounce back. We can, however, take actions to mitigate the extent to which it damages the plants.
First, never transplant in warm or hot temperatures. Seedlings are sensitive to heat, and even more so when undergoing transplant. This applies to water temperature as well.
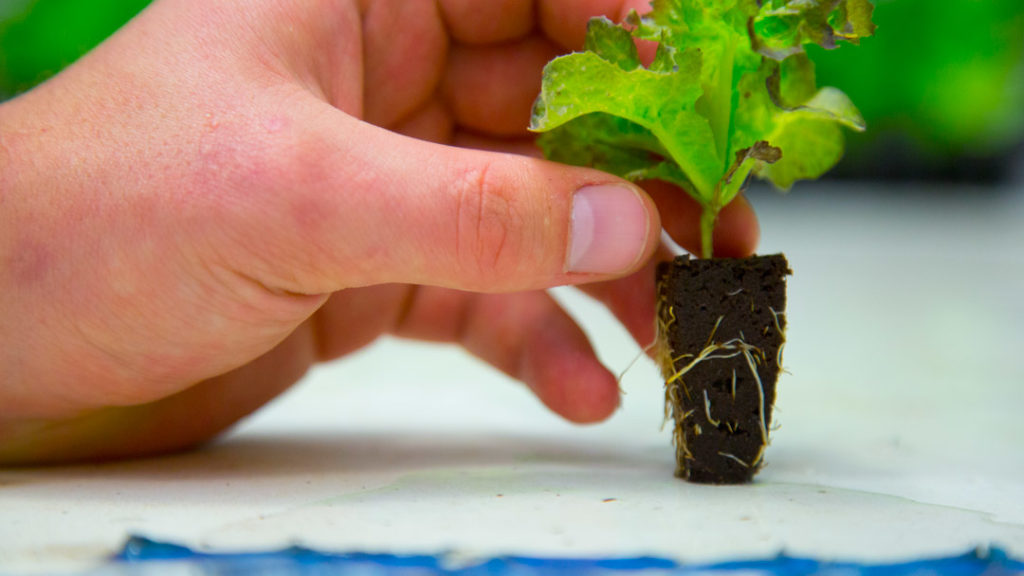
Be delicate with the plants when you pull them from the trays. Try to keep the plugs and the roots intact, and grab the plant as close to the plug as you can so as not to rip off any stems. If you find this difficult, try using a plug popper like this one.
Avoid immediately placing the newly transplanted seedlings under light—they’ll be overwhelmed by the new nutrients (anywhere from 1.2–2.0 depending on the crop, check the EC chart) and environment, and adding light won’t help them recover more quickly.
Transplant when they are just about ready to be watered again. This will be a time when the media is not very wet (though still moist), and will not be expanded into the tray, which can make the plugs easier to remove. That said, when you transplant, the seedlings should go directly into a system that has water running through it.
You’ll notice that we haven’t mentioned how many days each stage should take. This is because the length of time a plant needs to complete a stage is dependent upon what the plant is and the environmental conditions under which any particular stage occurs.
Also, note that temperature and humidity are very closely linked and can have adverse effects if either gets too high or too low. Learn more in our courses: Humidity Management: Tools & Tech for indoor Growers and Heating and Cooling for Greenhouses.
 If you want to optimize your crop, grow cool and warm weather crops separately. Remember, though, that plants are originally grown outdoors, where temperature and humidity fluctuate frequently. Plants are made to be resilient, but one of the largest benefits of growing indoors is that we have the ability to optimize yield and quality by controlling their environment.
Download the Environmental Conditions Cheat Sheet and dial in those parameters to get your best yield yet!
See more from the Hydroponic Crop Planning blog series:
I just learnt about the importance, the difference between planting, germination, propagation and transplanting, its explanations are very simple to understand and practice.
you guys are doing good.