
Many of us learn the hard way that compensating for seedling loss early on in the planning process is essential to getting a good harvest. But seeding rates are relatively easy to overlook—you plant as many seeds as you need, right?
Imagine this scenario:
 You’ve just signed a contract with your local grocery store. It’s exciting, but you’re a little nervous about committing to a consistent volume of produce to deliver each week. You know your quality is great, but your yield is lacking because seedlings are dying before even getting past germination. You’ve been planting the number you know you need to fill your towers, even taking the germination rate into account. But it never seems to be enough. Week after week you’re disappointed with the yield…
This is likely happening because you’re not accounting for all of the many factors that influence seeding rates. Rough handling, environmental risk, and other things can cause a lower seedling success rate than you may have expected, so planting the exact number of seeds you need to fill your system almost never works. This will leave you with a lower yield than desired, and as a result, a lower profit. It could also lead to losing a contract if you can’t meet your promised quantity for a delivery to a grocery store.
While it’s nearly impossible to account for every risk, we can take a few good preventive measures to mitigate them.
Start by always always always planting more seeds than you think you need. It seems like a lot, but it often ends up being a great safety net. In this post, you’ll learn a handy equation to calculate the number of seeds you need to plant so you get the harvest, yield, and income you desire.
As you become more experienced and seed more and more, your numbers will become more accurate. In order to refine your seeding rates and achieve a dependable yield, you’ll need to understand a few things first.
Here are some definitions you’ll need to know:
Contingency: this describes the margin of error for which you must compensate when you are planning your seedlings. Perfectly predicting contingency is impossible, but we can improve accuracy by calculating a number of seeds to plant that will get us a better seedling success rate.
Desired # of seedlings: the number of seedlings you would like to have for a successful harvest. This is the number that you need to put into your system for full plant occupancy.
Seeding rate: the number of seeds you’ll actually need to plant relative to the number your system requires in order to have enough after an expected (or unexpected) loss rate.
Germination rate (%): How many seedlings actually germinate versus how many were planted total. This number can be found on the seed label and guarantees that a certain percentage of those seeds will successfully germinate. It will almost never be 100%.
Purity rate (%): this is a number that is frequently included on the seed label, and means that the seed container may include a percentage of seeds that are not what you want. For example, a 90% purity rate would tell you that 10% of those seeds are either other types of matter, weed seeds, or another type of crop. The 10% is known as the contamination rate.
Death or mortality rate (post-emergence, %): the percent of the seedlings that germinate but do not survive the seedling stage. This one is hard to know for sure until you’ve tested quite a few times with each seed type, but you can assume 10% to begin with. Include a margin for seedlings that you’re likely to kill during transplant from being too rough with them. You can adjust the mortality rate if you find that you’re killing a lot of your seedlings during transplant.
Seedling survival rate (%): the percentage of the total seedlings that survive in relation to the total number planted. Seedling survival rate is calculated by subtracting the mortality rate from the germination rate.
Seedling loss rate (%): the number of seedlings lost as a percentage of the total planted. It is helpful to keep track of this number as you measure your success.
Seeding density: how many seeds per plug or per cell in a seedling tray. Many farmers place multiple seeds per cell, especially if they’re growing baby greens.
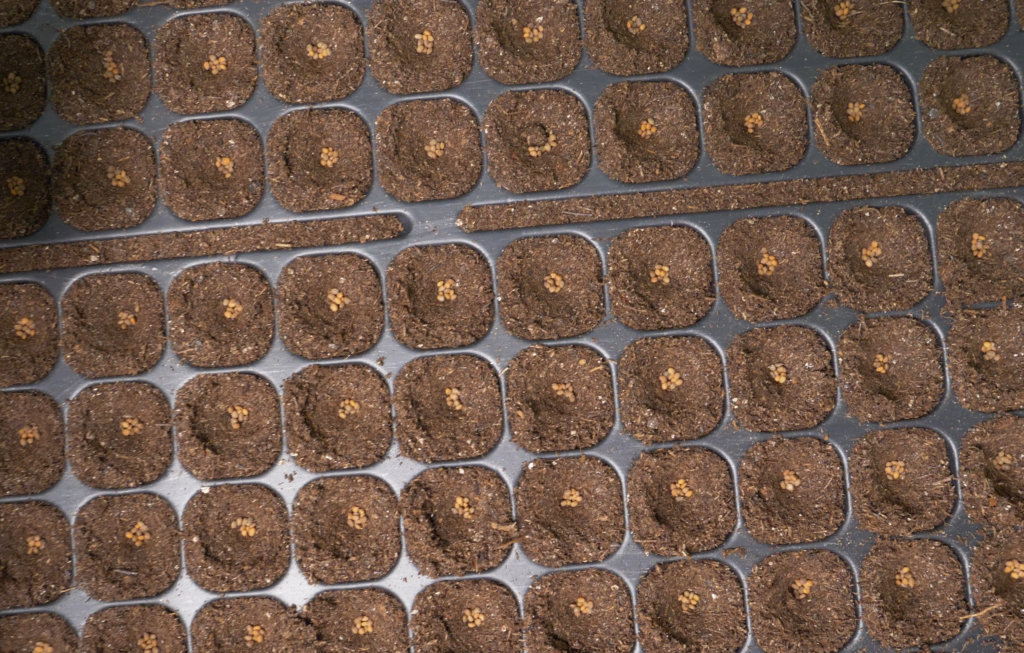
Plants grown to full size should be planted with one seed per plug, especially for cut-and-come-again crops.
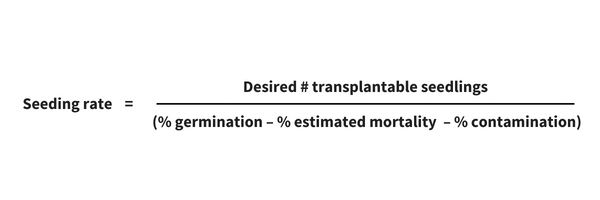
The seeding rate equation:
Example:
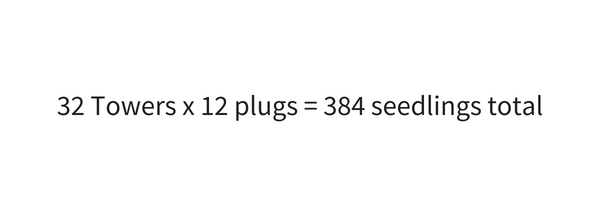
Let’s use lettuce grown in 7-foot ZipGrow Towers as an example. If we have 2 double-sided ZipRacks at single spacing, we have 32 Towers total. (See Understanding ZipGrow Course).
Lettuce, if grown to full size before harvest, should be planted about 6 inches apart in the towers.
Note: baby greens can be planted much closer together; at about 2-inch spacing.
At 6-inch spacing and single-seed density, we can fit 12 seedlings in 1 Tower—allowing for an additional 6 inches at both the top and the bottom of the Towers for the gutters. A simple calculation will tell us our desired number of successful seedlings:
Now, that’s the number of seedlings we want to survive because that’s the number that will fill out the Towers.
Note: in the planning process, this is very important for predicting and achieving desirable profit.
Since it’s a good bet that many seedlings won’t make it, we know we need to plant more than 384 seeds. But how many more?
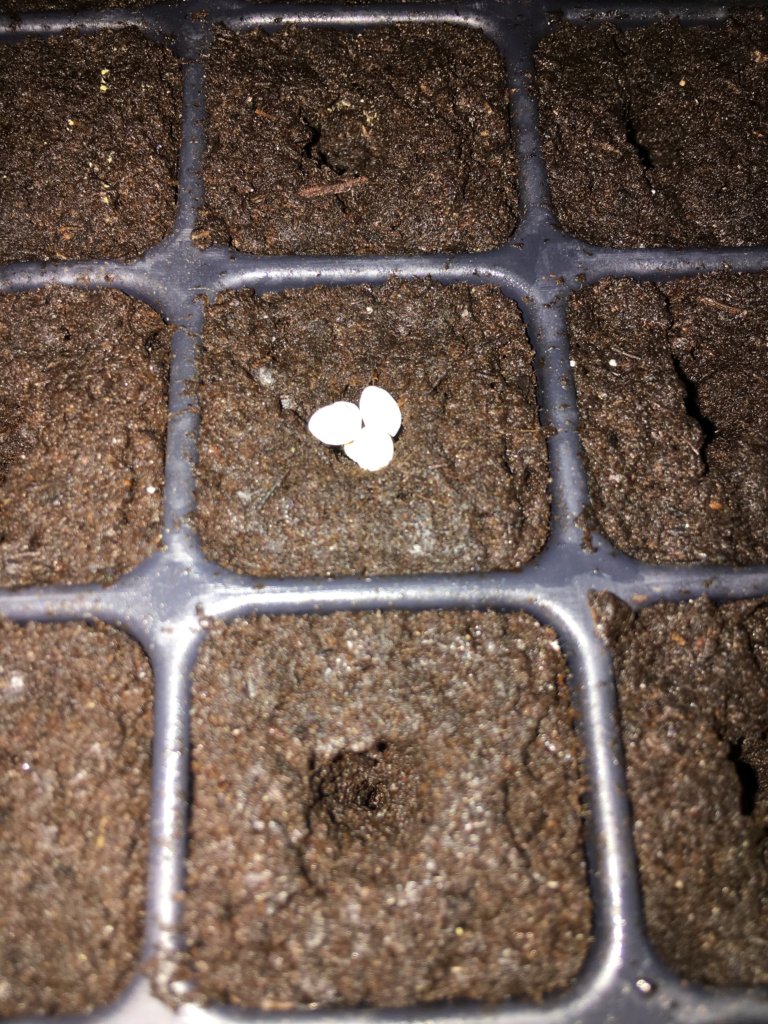
Let’s take a look at the seed container label:
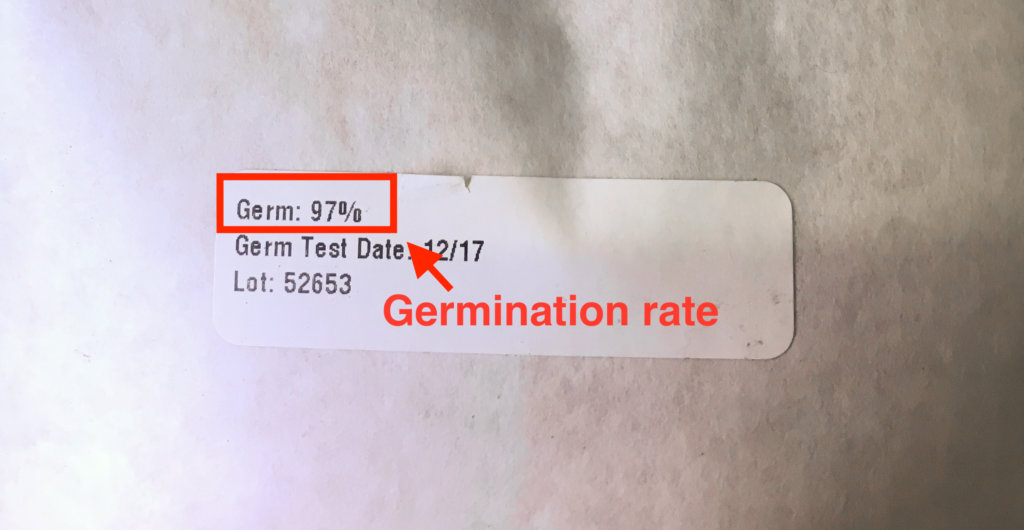
The germination rate is: 97%
If the bag doesn’t indicate a purity rate, assume 100%, and exclude it from your calculation. If it does, calculate the contamination rate by subtracting the purity rate from 1. In other words, if the purity rate is 90%, the contamination rate is 10%.
We’ll assume 10% mortality, and since this bag doesn’t tell us the purity rate, we’ll exclude it.
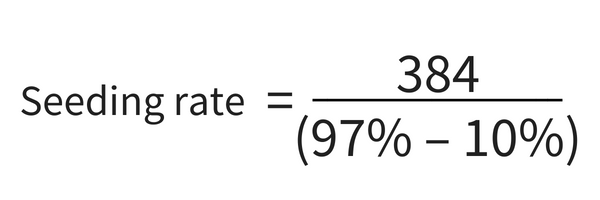
The germination rate minus the mortality rate is 87%.

That means that in order to be sure we have 384 healthy seedlings to transplant into our Towers, we should actually plant 441 seeds.
This is based on the assumption that we are growing the lettuce to full size, and therefore only want 1 seed per cell or per plug.
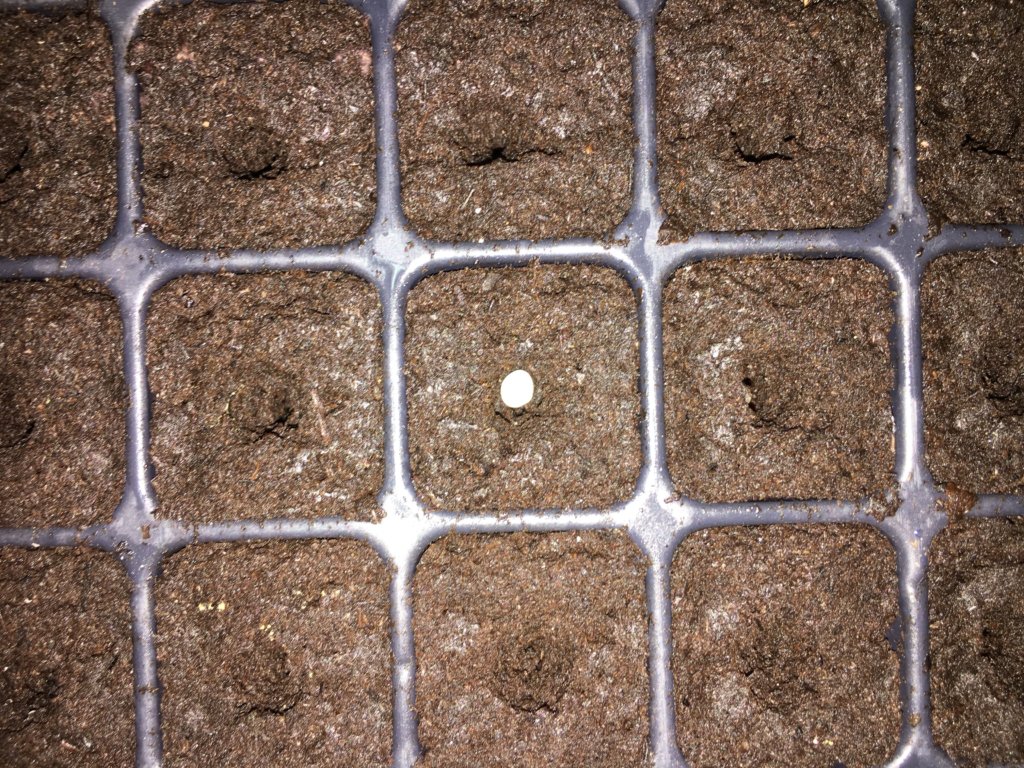
Single-seed density
Let’s say we want to increase the seed density and grow baby greens. If we want to plant 5 seeds per cell, we would multiply that resulting number by 5. This will give you the number of seeds, while the original number will represent the number of plugs you’ll need to plant into. Let’s dig into this example.
5 seeds in 1 plug as an example of multiple-seed density.
So, if we wanted to grow that romaine lettuce as baby greens (in other words, harvest while the plant is still quite young), we would want a higher seed density. Like I mentioned, baby greens can be planted at smaller intervals along the Tower, about every 2 inches. In this case, we could fit 36 plugs per Tower rather than just 12 (be sure to carefully measure how many plugs will fit into your Towers).
For 32 Towers, we would need 1,152 successfully seeded plugs (32 x 36 = 1,152). Let’s try that seeding rate calculation again:
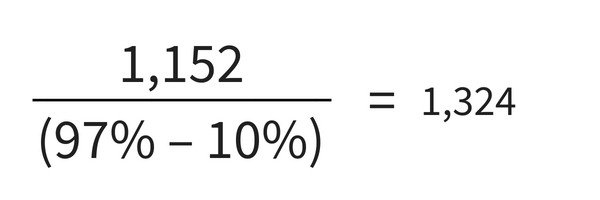
This means that we need 1,324 plugs to place into the Towers. However, if we’re seeding at a density of 5 seeds per plug, we need to multiply that number by 5 to find the number of seeds we’ll need:

If you calculate for single-seed density, that tells you how many plugs you’ll need to plant into. When you increase seed density, remember that you will still have a mortality rate, so add some plugs for good measure.
Conclusion
As you use this seeding rate equation more, it will become indispensable. Guessing is a dangerous method, especially when you have orders to fulfill. So use these calculations to increase your success probability and to impress that produce manager at your grocery store!
Additional notes
Things that help seedling success:
Planting depth: if you plant too deeply into any media, especially when growing vertical, the seedling will struggle for light, and its leaves may become wet with the nutrient water.
Time & temperature in propagation chamber: pay close attention to the conditions in which your seedlings germinate as this directly affects success. Your seeding rate calculations won’t matter if your seeds aren’t germinating in the first place.
Seedling spacing (ZipGrow Towers): each crop will require slightly different spacing. This also depends on whether or not you’re growing the plants out to full size, or if you’re shooting for baby greens. As a general rule, the larger the plant, the larger the spacing will need to be.
Supply recommendations:
- Propagation chamber: These propagation chambers offer good build quality at a fair price for commercial systems.
- Seed suppliers:
- Plug type: FlexiPlugs work quite well.
- Tray type: we use trays that have 200 cells each. Make sure that the plugs you choose fit into the trays. Quick Plug offers suggestions for trays that fit each type of plug.
Course recommendations: