DIY walk-in coolers give small farmers a quality advantage
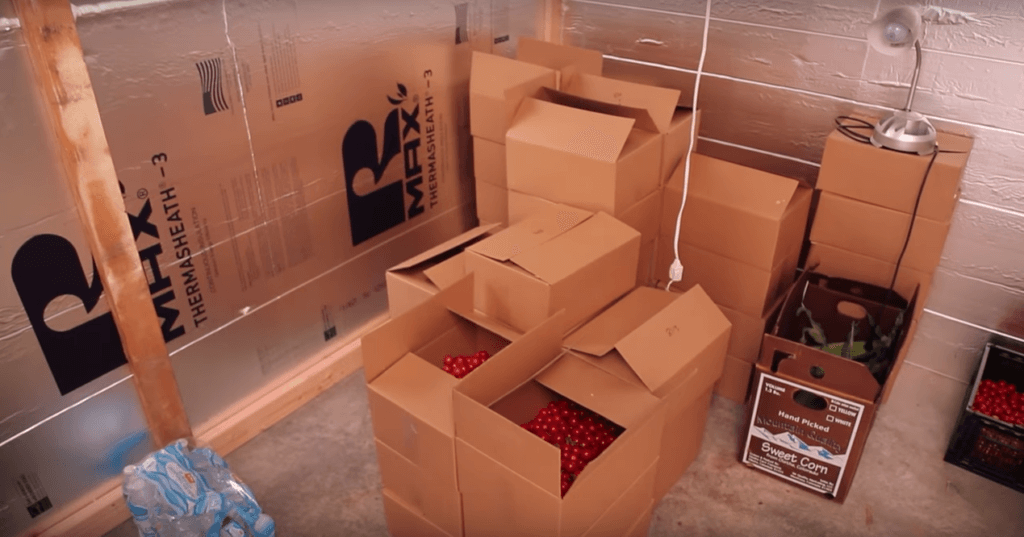
Walk-in coolers benefit small farmers by extending produce shelf life and maintaining quality for consumers. For example, Haydn Christensen at Colorado Fresh Farms grows cherry tomatoes during the summer and harvests about 10 crates each day at the height of the season. He only delivers a few times a week and needs a space to keep the tomatoes fresh for delivery. A DIY walk-in cooler allows him to do that.

Walk-in coolers also give small farmers a competitive edge on larger producers. Huge farms have to harvest less ripe produce and store it before transporting it to the consumer. By the time it gets to the customer, it’s older and less flavorful.
Since markets for small farmers tend to be closer, farmers don’t have to worry about long traveling timelines. They can harvest ripe, tastier produce, and offer it to the consumer.
Of course, busy farmers may need to set the produce aside for a few hours or a day before delivering it. In this case, keeping produce in a warm greenhouse or garage just doesn’t suffice. The heat wilts greens and herbs and can cause fruit to split or rot. Furthermore, good agricultural practices may require a separate space for food storage to achieve food safety standards.
A simple DIY walk-in cooler can store produce for the few days or hours that farmers need to bridge before getting produce to the consumer.
Since they are simple and cheap to build, walk-in coolers are one of the best options for small growers. Haydn showed us his recently built cooler to give us an idea of what it takes to build one.
Size a cooler with room to grow, but not too far in advance
Growers should size a cooler based on the highest volume that they are harvesting during the cooling period. The question to ask here is, “Over the number of days that I will be storing produce, how much accumulated produce do I expect to harvest?”
The second factor to consider is anticipated growth—”will I be increasing production volume soon?”
For example, a grower named Trevor who delivers every other business day can expect to store three days worth of produce in his cooler at a time, maximum (over the weekend). If Trevor is harvesting 25 two-by-one-foot crates a day and each is 12 inches deep, he knows that each crate will take up two cubic feet of space in his cooler, and a day’s harvest will require 50 cubic feet.
Three days worth would require 150 cubic feet.
1 crate = 2 ft^3
and 1 day = 25 crates = 50 ft^3
Next summer, Trevor plans to double his production with the same delivery schedule. He would need a maximum of 300 cubic feet worth of space in his cooler. He also wants some space to move around in the cooler.
Trevor is building his cooler inside his headhouse and estimates that his ceiling will be 9.5 feet high. He divides his cubic feet (300) by 9.5 to get the square footage of the cooler: 31.6. He figures he’ll keep an extra 2′ x 3′ space to enter and move inside the cooler.
His square footage needs to be around 38. A 6 x 6.5-foot space is about right.
If Trevor knew he wouldn’t be increasing his production for another four years, however, this would change. If he built a cooler twice the size he needed, he would just be paying to cool empty space for four years. That unnecessary operating cost would build up.
It’s important to think about how quickly you’re growing so you don’t end up paying for cooling an empty room. It might be wiser to start smaller, save money for a few years, then expand when the time comes.
Inputs: basic carpentry, 2 x 4’s, insulation, & a cooling unit
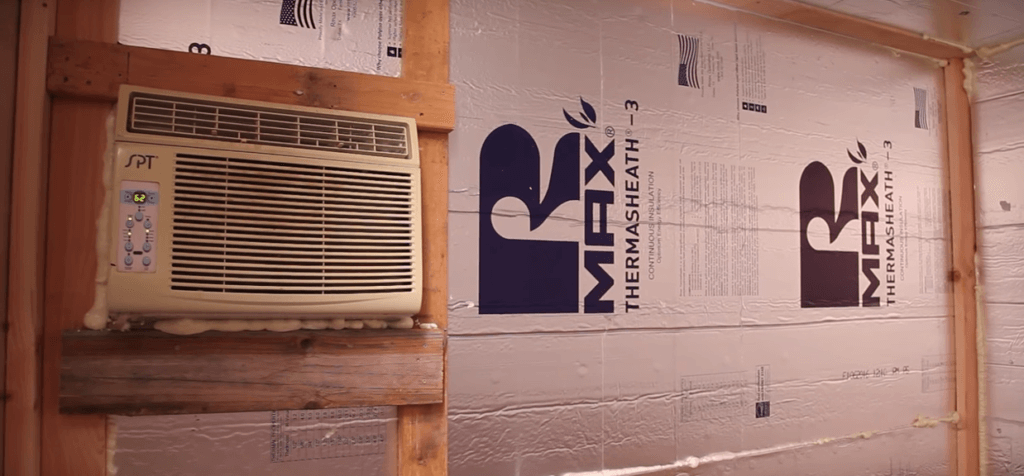
If you have basic carpentry skills, you should be able to build the cooler yourself without a problem. Haydn used 2 x 4s for a frame and a double wall of 2” insulation panels. The door, he says, was the trickiest part of the process. The door needs to be snug to avoid air loss. He got some help on this part of the cooler.
To cool the 8′ x 8’ room, Haydn used a simple 12K BTU window A/C unit that he already had. The unit goes down to 50º F, which is all he needs for his tomatoes. Other growers storing more needy crops should consider other options, however.

Haydn still has to add another layer of insulation inside the cooler and seal it for moisture. Be sure to check out other videos with Haydn to see projects like his fertigation system for cherry tomatoes.
Get more building and efficiency tips!
Upstart University is a platform dedicated to new farmers learning the ropes and building farm businesses. From commercial hydroponic operations like Haydn’s to small scale aquaponic growers and many others, Upstart University has resources for growers.
If you aren’t already a student, check out the 1-week free trial for Upstart University.


Thanks, admin really looking for DIY and found this article life savior!!!
I’d love to see how you made the door! Do you have a picture or a description of how you did that with the insulation?