
If you’ve read the previous plumbing blogs, you know how to get your PVC pipes all joined together and how to install valves for controlling and restricting water flow. You also know how to get the water from the tank to the pipes with a bulkhead fitting. These are all basic plumbing skills to know as you plumb the main tanks and connections of your hydroponic or aquaponic farm.
An important but small skill that often gets forgotten is figuring out the best way to deposit water to the plants.
This is done with a tiny little plumbing piece called a drip emitter. This article is going to teach you everything you need to know about what a drip emitter is, different types, and how to install and service them.
A drip emitter is a device that is usually installed into a flexible tubing to control water flow to a plant. Drip emitters are sized not only by the dimensions of the emitter but by the volume of water they deliver. This volume is measured in gallons per hour or GPH. Most hydroponic drippers come in 1-2 GPH.
There are a plethora of drip emitter types out there, ranging from standard drippers to misters. Today, we’ll just focus on a couple of the standard types.
We’ve used two different types in our farm systems. The first is a standard, non-pressure-compensating drip emitter, which has three parts: a nozzle, the body (which will be the part installed in the tubing), and a small disk on the inside of the device.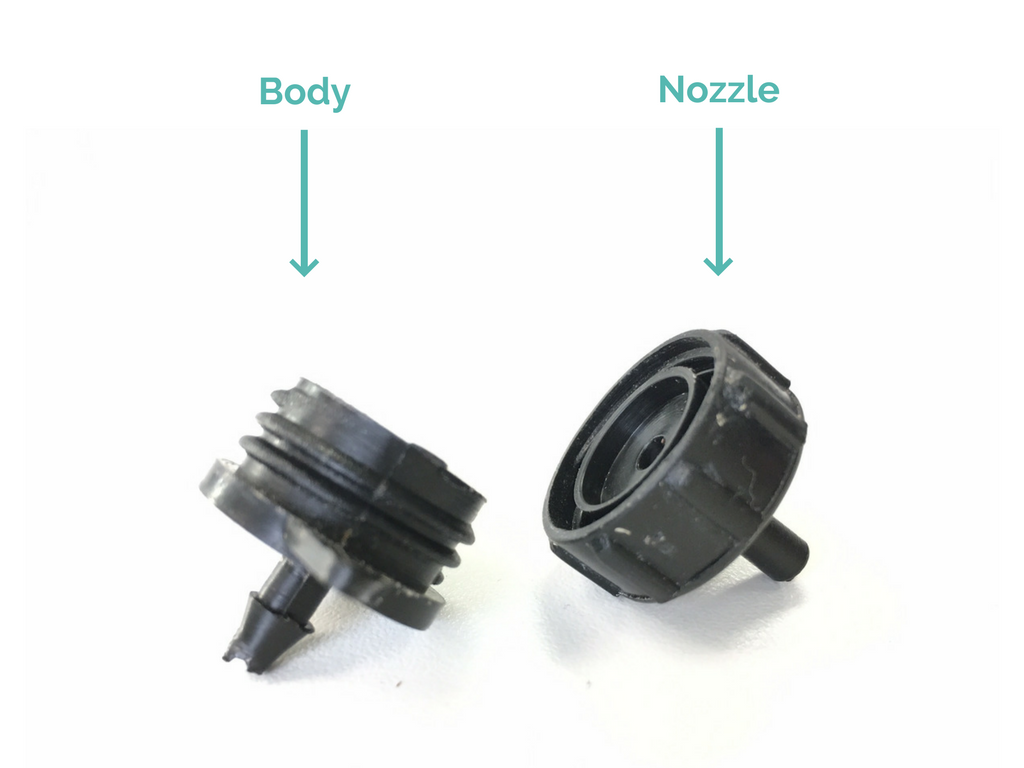
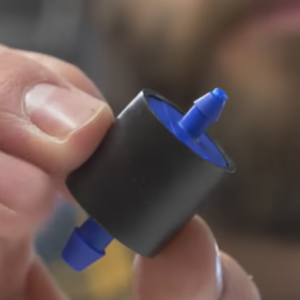
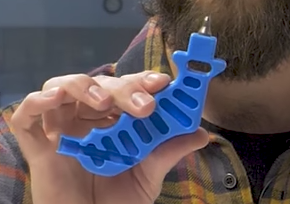
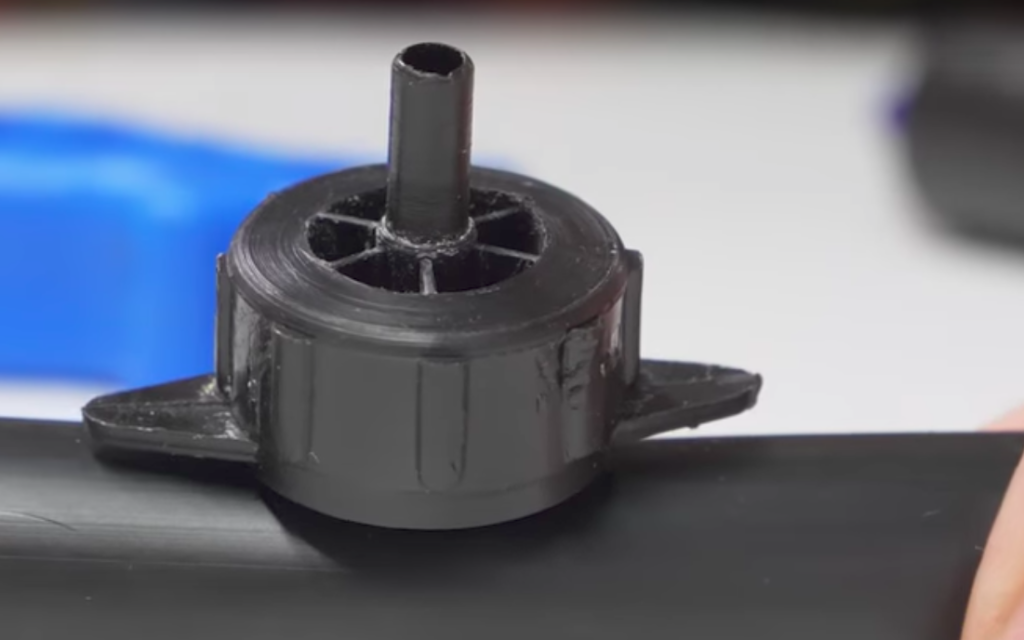
The other is a clog-free drip emitter that is one solid piece. Non-clogging emitters require a water pressure of at least 15 PSI for it to operate as intended. Inside, they have a couple of rubber sheets with a series of holes in them.
If one of these holes does get clogged, the design of the device allows pressure to be built up behind that clog. As a result, the rubber sheet it’s stuck in expands and allows the particle to be expelled from the hole. Check out how they work here.
A third option for growers is to simply run 1/4 inch poly tubing from the main irrigation line (connected with a barbed fitting) and leave the cut end open near the base of the plant. In this case, no drip emitter is used. This is an affordable option, but gives the operator of the system less control over flow and requires de-clogging occasionally. See the Bato buckets example below as an example.
Installation
To begin, you’ll need some poly tubing. Position the tubing in a manner that will bring water to each and every one of your plants. That may mean running it by all of the plants in your garden, along the top of your ZipRacks, or across the tops of Bato Buckets.
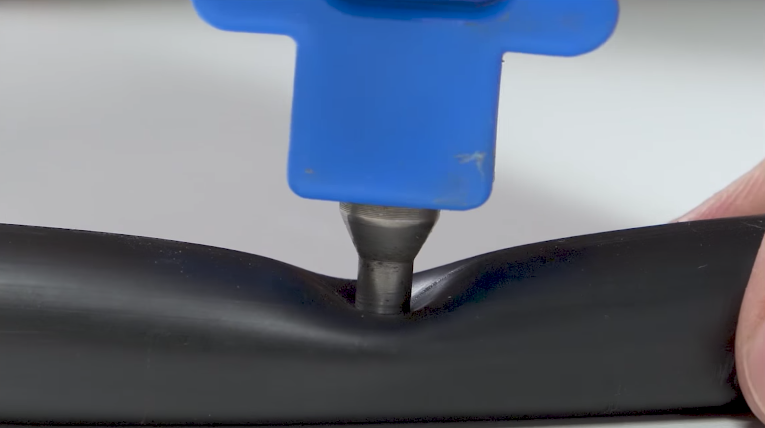
 In order to install drip emitters into the tubing, you’ll need a punch tool, which may be difficult to find depending on where you live and what season it is. But, of course, there are a lot of online retailers through which you can order one.
Wherever you want your dripper to be placed, you’ll punch through the wall of the tubing. There are two common mistakes when punching holes for drippers:
1. Placement of the hole is not measured or marked.
Patching holes in the typical ¾-inch poly tubing is difficult, so remember to measure and mark your holes before you start punching!
2. The punch tool is used with too much force and goes through both sides of the tubing.
Be careful not to punch through both sides of the tubing. You only want to punch the one side.
Once you’ve got the hole punched, you’ll insert the barbed end of the drip emitter into the hole. Tada! Your drip emitters are ready to start delivering water to your plants!
Once they’re installed and you’ve been using them, they may need to be serviced every once in awhile to remove any kind of clogging.
Servicing drip emitters
Non-pressure compensating emitters can be taken apart to clean or fix. The end of the emitter that sticks out of the tubing can be unthreaded to reveal the little disk inside. The disk has a labyrinth pattern which helps control the flow, and that is where you’ll most likely find the clog. Simply wipe it away, and replace the pieces of the drip emitter.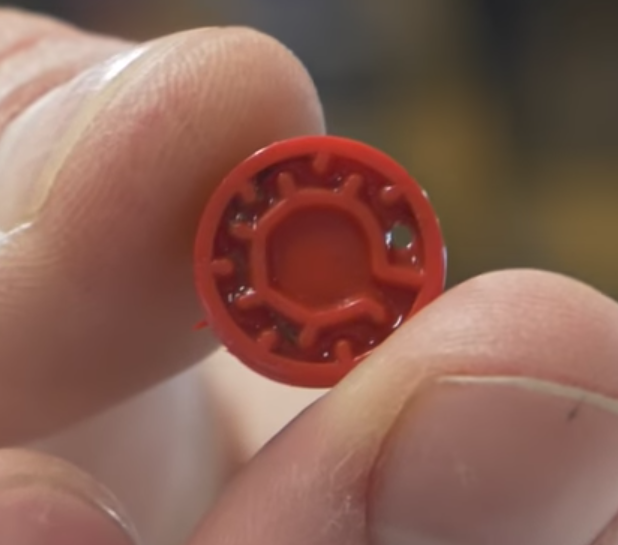
The clog-free drip emitter doesn’t need much service, mostly because it’s already designed not to accumulate any clogs. If it does get clogged beyond helping itself, and if you have the capability, you can sometimes increase the pressure of the flow and give it a little more power to push those clogging particles out.
If that doesn’t work, you can get another one relatively inexpensively and replace it in the system.
Drip emitters are a fairly simple device to become familiar with and are very helpful for getting the right amount of water to your plants at the right times. The type of drip emitter you use will depend on the flow rate of your system, so make sure that the devices you get match up with what you need.
Examples
We’ve got drip emitters in several systems running in our operation. In our Bato bucket system, there are two drip emitters per bucket. In this case, we have used two quarter-inch tubes to extend the drip out over the center of the buckets.
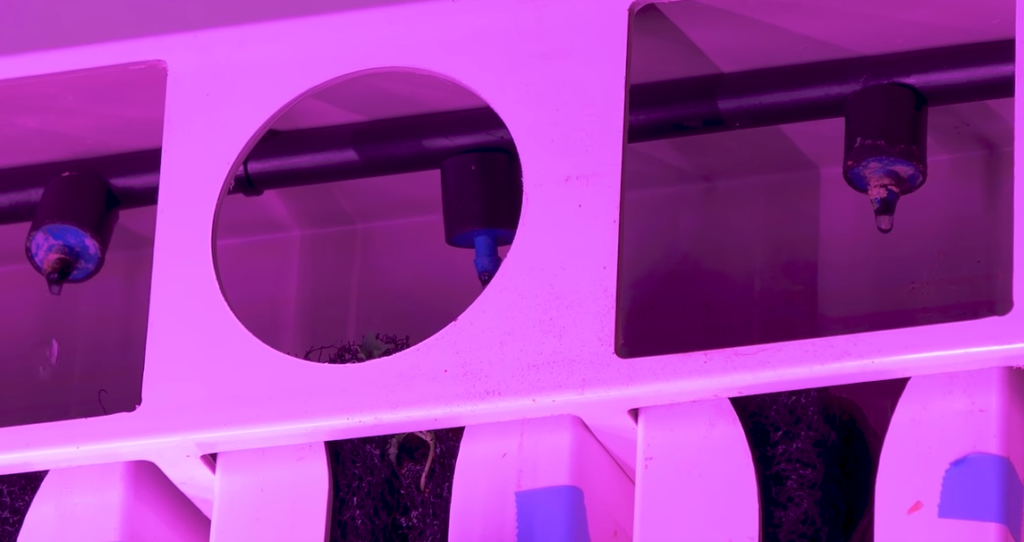
Drip emitters are also installed in the poly tubing along the top of the ZipRacks in our farm, one at the top of each tower. This is our most common use for drip emitters.
Start feeding your plants!
You shouldn’t have any trouble getting drip emitters into your system but if you do run into any issues let us know.
Wondering about why you’d use poly or vinyl tubing? Keep an eye out for the next post which will answer just that!

One of my drip emitters, the kind that is blue and black is clogged and will not drip. How can I unclog it or order new replacement parts?
Hi Elaine,
Sometimes the drip emitters will come apart, and you can simply remove the clog from the inside. If this is not an option, we recommend ordering new ones and keeping a few in stock so you can replace them quickly when you need to.
So they aren’t clog-free…
know where there are true clog free emitters?
I’ve heard people say to get 4gph
Thanks
I have been running a zipgrow system for a year now. Drip emitter checks are a constant problem. Poly lines are full of algae gunk and I have to unclog the emitters twice a week. On a 240 tower system this is a major headache. They have no solution for this and customer service is very lacking. I wish I would have purchased a horizontal NFT instead of this system.