
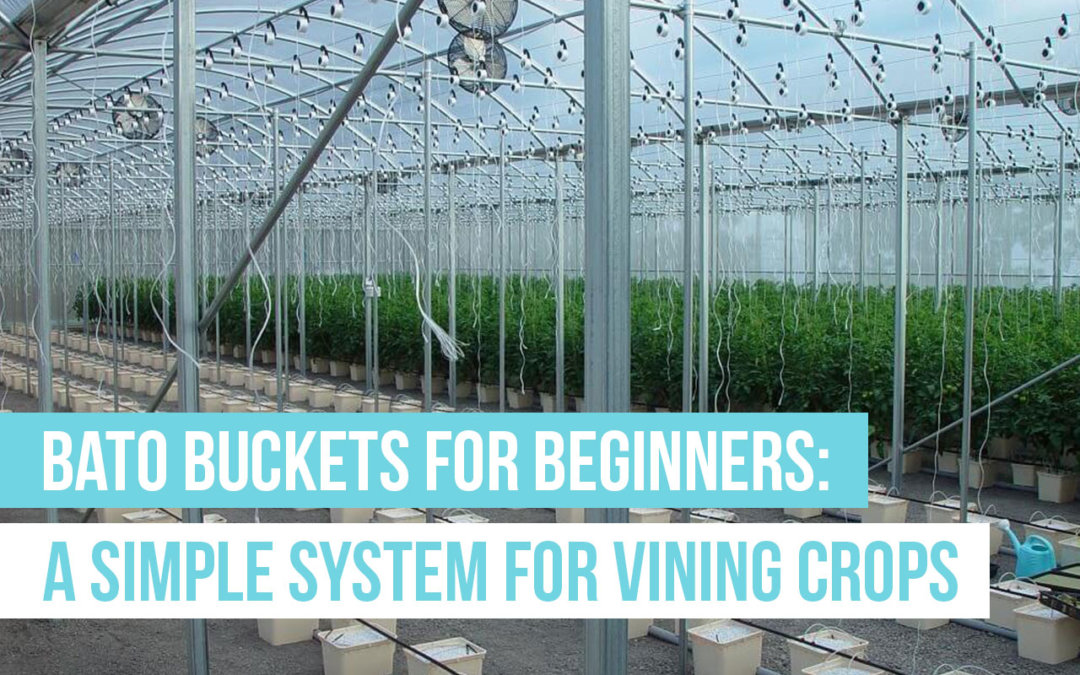
What are Bato buckets?
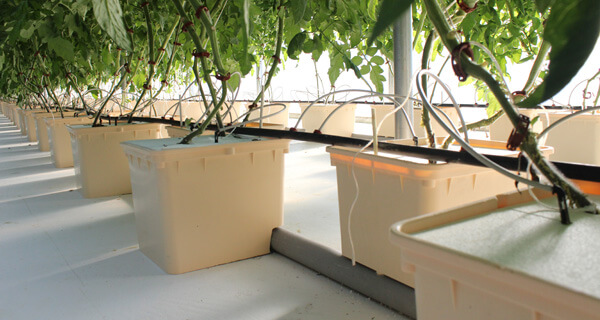
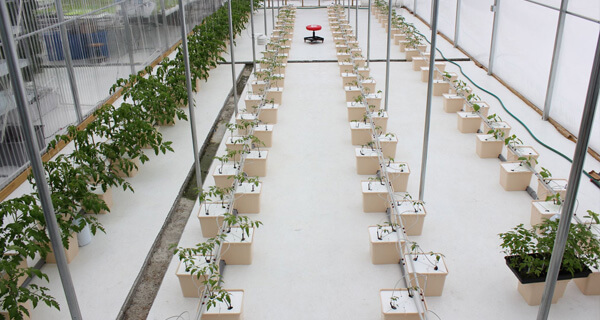
 Bato buckets, or “Dutch buckets,” are a variation of the media bed technique that consists of a series of small media beds (in buckets). The buckets are typically arranged in a simple row or two with one irrigation line and one drainage line for each row. This design makes Bato buckets one of the simplest techniques.
Note: The plumbing for a Bato system is simple, but does vary some depending on the grower and their needs. You can learn more about this setup in our Bato buckets mini course.
Like most media beds, Bato buckets can be used in both hydroponics and aquaponics (although hydroponics is easier and more popular). The technique has been widely adopted in areas with non-arable land, or where conventional or sustainable field agriculture is not appropriate, and offers several benefits to gardeners and farmers.
The benefits of Bato buckets for beginners:
- They work well in controlled environments for year-round growing
- Most setups decrease labor for many crops
- They save space compared to conventional techniques, especially for large and vining crops
- Well-managed systems can conserve huge amounts of nutrients and water, even in a flow-to-waste setup
As you can see, Bato buckets have a lot to offer. They’re a great technique for the blooming hydroponic grower or anyone learning to design different systems.
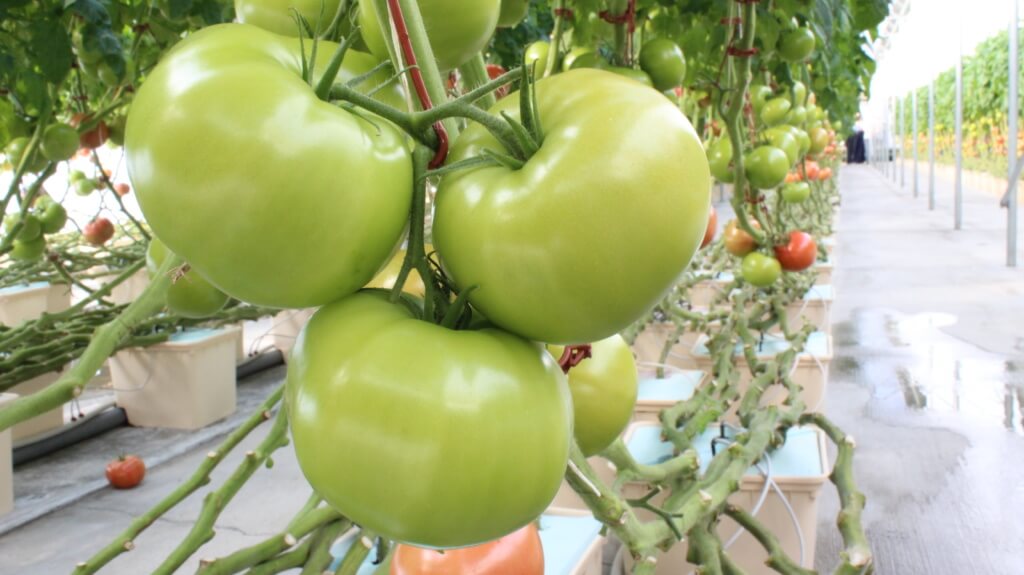
Best crops: large, vining crops
The most popular crops for Bato buckets are large and/or vining crops like tomatoes (most hydroponic tomatoes sold in stores have been grown in Bato buckets), cucumbers, peppers, and eggplant. Many of these crops can be trellised and trained upward, creating rows of tall towering plants which are easy to access and monitor.
These aren’t the only types of crops that have been grown in Bato buckets, however. Theodore Huggins from CropKing explains that these crops are simply “the most common, most cultivated, and with the most data collected. Bato buckets allow for almost any indeterminate or even perennial crop to be grown…”
As always, we also encourage growers to try out new crops in their systems. You never know if you’ll find a winner until you try it!
Bato buckets use a simple 3-part design
Bato beginners can design a system focusing on three main parts, each with its own components:
Feedlines
- Reservoir (sump tank)
- Pump (Active Aqua will work for most systems)
- Main feedline tubing (poly tubing will work)
- Smaller bucket-feed line tubing
- Necessary fittings & connections
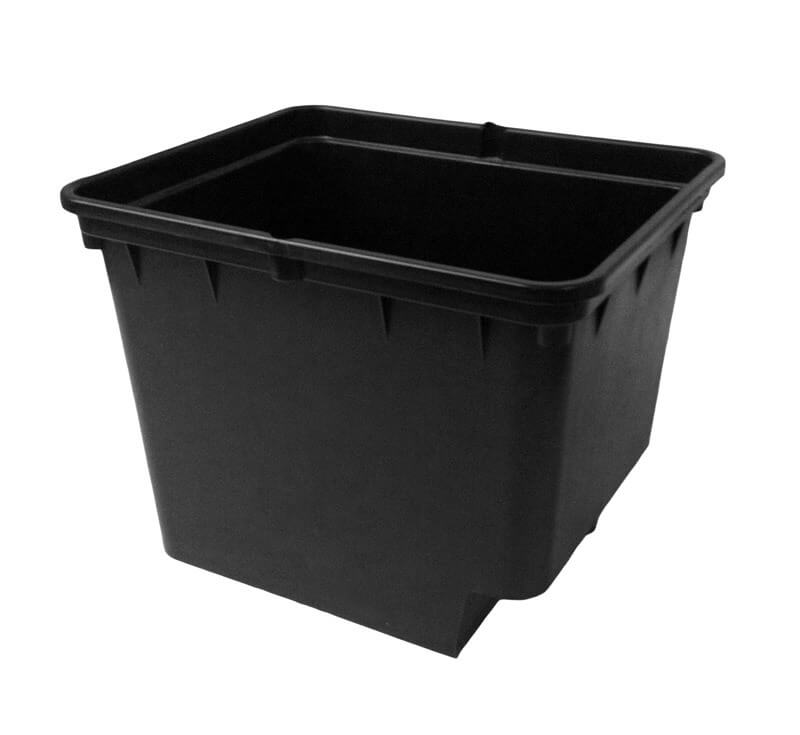
Bato bucket
- Medium
- Bench or floor
Drain line
- 1 ½” Drain Line Tubing
The rest of the design varies based on layout and materials but is pretty simple. “Once you understand the basic patterns of how the buckets are designed to work,” says Theodore, “you then have to procure and manage each individual part of the three major components.”
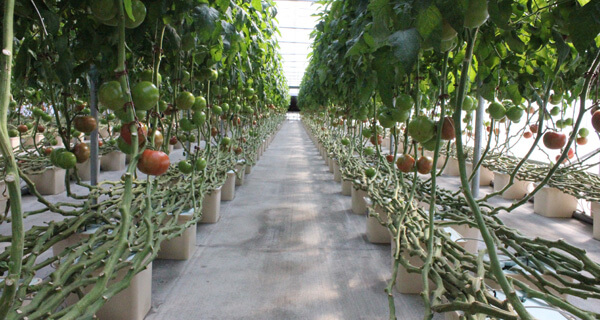
Assembled, a Bato bucket system is typically set up with buckets staggered on a bench or the floor, with the feed line running water to the buckets from above, and the drain line (or return line) running water away from below.
Growers may run both lines to and from a sump, using a recirculating system, or simply run the drain line to waste.
The flow-to-waste set up is often preferred by growers; when used correctly, irrigation and nutrients can be formulated and run with great precision. While recirculating systems are possible and do conserve a bit more water and nutrients, the solution must be monitored and adjusted as plants take up nutrients; flow-to-waste systems are simpler to manage as growers can mix one consistent solution on a scheduled basis.
While Bato bucket systems can be created using parts thrifted or bought from a hardware store, Theodore recommends buying a prefabricated system, which is more convenient and often ends up being more cost-effective in the long run.
Media choice depends on farm goals and values
After working with hundreds of Bato bucket growers, Theodore notes three most common media types used in Bato bucket systems: perlite, expanded clay, and (more recently) coconut coir. These can be used by themselves or together in different ratios.
Some growers have used rockwool as a medium, but the design of Bato buckets isn’t ideal for it. Perlite is the favored material for Bato buckets. 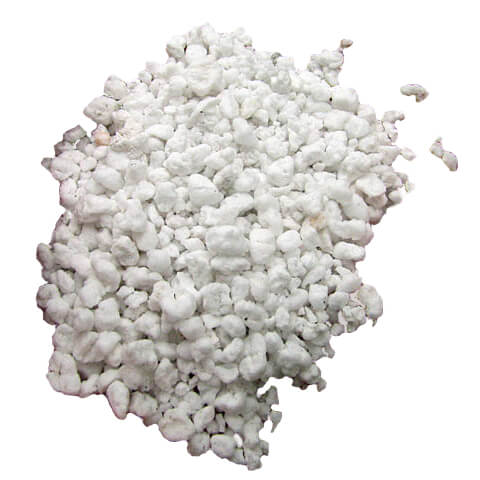
“Perlite,” said Huggins, “is the most cost-effective, inert, and sterile material while still maintaining a beneficial air-to-water holding capacity… We start our tomato seeds in rockwool cubes, then transplant them into perlite.”
 Your choice medium for your Bato buckets depends on factors like price, environmental impact, physical properties (like air to water ratio, weight, and longevity), as well as waste management.
To learn more about different hydroponic media, be sure to check out the Hydroponic Substrates course.
4 common beginner mistakes to avoid
Theodore has 4 common mistakes and tips for new Bato bucket growers.
1- Irrigation and fertilizer problems. Not understanding the relationship between the strength of the fertilizer and the irrigation timing can lead to quick problems in any hydroponic system. The Bato bucket reservoir, medium chosen, as well as plant size and age, all play an intricate role in maintaining the proper fertilizer and irrigation programs.
2 – Not cleaning or sanitizing buckets in between crops. Some mediums can be used for multiple growing seasons but only with extra care and caution to not cultivate bacterial or fungal problems.
3 – Lack of IPM and preventative care for plants accompanied by slow reactions to pathological problems. The high density of Bato buckets can allow for bacterial, fungal, and insect problems to spread rapidly.
4 – Too little time spent in the greenhouse or with the system. Although Bato buckets allow for less cultivation labor, intensive management practices toward maintaining a status quo at all times are needed to ensure the harvest potential of the system. This is accomplished by having a close eye on all components of the system and the plants being grown.
Planning a system?
You’ll enjoy building a Bato bucket system. To support your long-term success, be sure to create farm goals, do thorough market research, and of course, start good management practices right away.
Bato buckets are a relatively simple system, but like all growing, it can still take a while to learn the ropes. Don’t expect to be a master Bato grower right away. Plan for about two years before you reach expert level.
“Take time to understand the checks and balances of the Bato Bucket System. The first 2 years of growing should be spent educating yourself and the people you are working with on the proper system and plant management techniques. This will allow an easier transition into a larger operation.”
We have to agree with Theodore there! Getting as much education under your belt as possible is a huge help to new farmers. A great place to start is through an Upstart University webinar.
Don’t miss it! Learn more from Crop King in this Upstart University mini-course.
In this course, you can learn:
- The history, design, and functionality of Bato buckets
- The benefits of Bato buckets
- Mediums for Bato buckets
- Irrigation and feeding
- Vining crops
This webinar is over but was jam-packed with information. Don’t worry—we’ve turned it into a course! Take the course here.

I have 200 dutch buckets I have had for a while….in my aquaponics system. I am in a 8 by 10 greenhouse in Canada I use all year long. ( 300 gallons of water with 50 or so tilapia ) I have had issues with mildew and white flies this last year. I wondered if I could use pebbles as my media like the rest of my system. Any ideas on how to grow peppers in my dutch bucket system. I am interested in any information you might provide. hvac4ever1382@hotmail.com
Zach
Hi Zach, I’ll send this question along to a bato bucket expert and have them get back to you. There will also be a time in the webinar for Q&A and I’m sure others would benefit from this question. I encourage you to attend the webinar and ask it there as well! Check it out: http://info.brightagrotech.com/bato-buckets-webinar
I have purchased and set up a bato bucket system but when I test the water circulation the water is not draining from the buckets back to the reservoir. The system is 4 buckets plus reservoir all on the same level. When I test I do not have any materials in the buckets so they are not closed off , I am not sure if this makes a difference? Also my system came with nets and one hole in the lid to place the nets, I assume I can just fill the nets with perlite and not have to fill the whole bucket with perlite is this correct or do I need to fill the entire bucket with a substrate?
Hi Tessa,
The bato bucket system is designed to be filled with substrate. Also to enable the nutrient to return to the reservoir, from the buckets, the top of the reservoir needs to be lower than the return pipe. This of course needs to be on a slight slope from the first bucket and back to the reservoir.
Hello,
I am new to farming and looking to build a 1000sqm Greenhouse in Nigeria, West Africa for cultivating Tomato and Bell peppers using Bato buckets.
Can you advise on how I may go about the complete design and build of the greeenhouse please.
Kind Regards
Femi
Hi Femi, we have some great resources on designing and building greenhouses that I’m sure will be helpful to you, starting with Able.ag. (https://able.ag) and our guide services (https://brightagrotech.com/vertical-farming-guide-services/)
Getting started in Upstart University is also a great way to get guidance on starting a business and managing a farm; check out the memberships page on the menu above to learn more!
The Bato bucket webinar was excellent! Thanks for that. Learned a lot. Now I want to get some to try :))
Has Bright Agrotech done any calculations on nutrient solution usage per day in towers? In my 4 tower farmwall it seems like the system loses 3-4 L of solution per day. The top up tank only holds enough for a couple of days.
Thanks kindly,
Hi Emilio, solution usage varies a lot between crop type and climate, since much of the water usage is the result of transpiration by the plant. In warm climates and places with more air movement, that transpiration rate can be very high. In a cool room, on the other hand, it will be much lower. Also, the difference between two plants- say a tomato plant and a lettuce plant- is huge. Eventually we’d like to get enough data to do crop and climate-specific calculations.
hi I’m growing cannabis and I’m having a problem with slow growth dark green leaf and the leaves have a ninety degree down angle nitrogen toxicity for sure I’ve brought down the tds or ppm to under 2 hundred is this how to correct the problem and for how long do i do this for
Hey Lynn, you have to wait it out. It is best to starve the plants of nitrogen for a while. Nitrogen is highly mobile within the plant, so if you have a nitrogen toxicity, it can resolve itself with time — use low nitrogen inputs in the meantime.
Hello,
I would like to know if it would be possible to use the bato bucket system as an aeroponic system for growing tomatoes and bell peppers?
I am planning for a 5000m^2 greenhouse and would like to use that method. I would use a polyurethane foam block to grow the seed in, and transfer it to the net pot instead of using the clay beads.then the dripper would be placed right on the foam.
What do you think of this?
Thanks,
Ajmal
Hi Ajmal, for a commercial operation, I’d stick with something a bit more tried and true. It sounds like an NFT system is more what you’re looking for. Have you researched that much?
Hello. Is it a must you should have a greenhouse for Dutch bucket??
Hi Moses,
It is not necessary to have a greenhouse for a Dutch Bucket system. They work fine in indoor spaces and even outdoors as long as the environmental conditions meet the needs of your crops.
For tomatoes . What size perlite would you recommend? Thinking of trying bigger size? Great work
Pat
Hi Pat,
The perlite size will depend on the type of system you’re using, for example, flood and drain versus a drip system.
I am completely new to hydroponics. I put in tomatoes peppers lettuce and cucumbers. Everything pretty much flopped. 2 months in, peppers and lettuces died. Cucs got big and I have had 2 cucumbers from two plants tomatoes stopped growing at 15 inches. No fruit. Have discovered I was given bad advice on nutrients so that’s one issue. The other problem is watering timing. Started with 15 minutes on 45 off. Everything wilted and turned brown so went to 24/7 like the tower gardens do. and that’s where I am at now. Frustrating as I bought a ten bucket system, a green house started plants in April and have nothing to show for it. My son thinks I should use tower garden nutrients following that schedule—-he does well with a tower garden and those nutrients and 24/7 watering. Help
good article
informative